
DIY Microwaveable Heating Pack
- Apr 4, 2017
- 2 min read
Hi Everyone!
I love having packs around the house. They have so many uses from sprains and bruises, to migrates, and aches and pain. They're also good for cramps! (You know what I'm talking about ladies)
Today I'm going to show you a quick and easy tutorial on how to make microwaveable heat packs of your own!
Materials Needed:
- Sewing Machine(Can be a basic one or more advanced)
- Cotton Flannel (2 pieces)(Can be any color and size you wish for your needs. I made mine 5 1/2 x 9 1/2, just make sure they're the same size)
- Cloth ruler or straight ruler
- 12oz of rice
- Coordinating thread(Make sure it's 100% cotton)
- Scissors
- Seam ripper
- Fabric pencil(Must be water soluble)
- Small funnel(Not pictured)

1. Take your 2 pieces of fabric and place them together, right sides together.
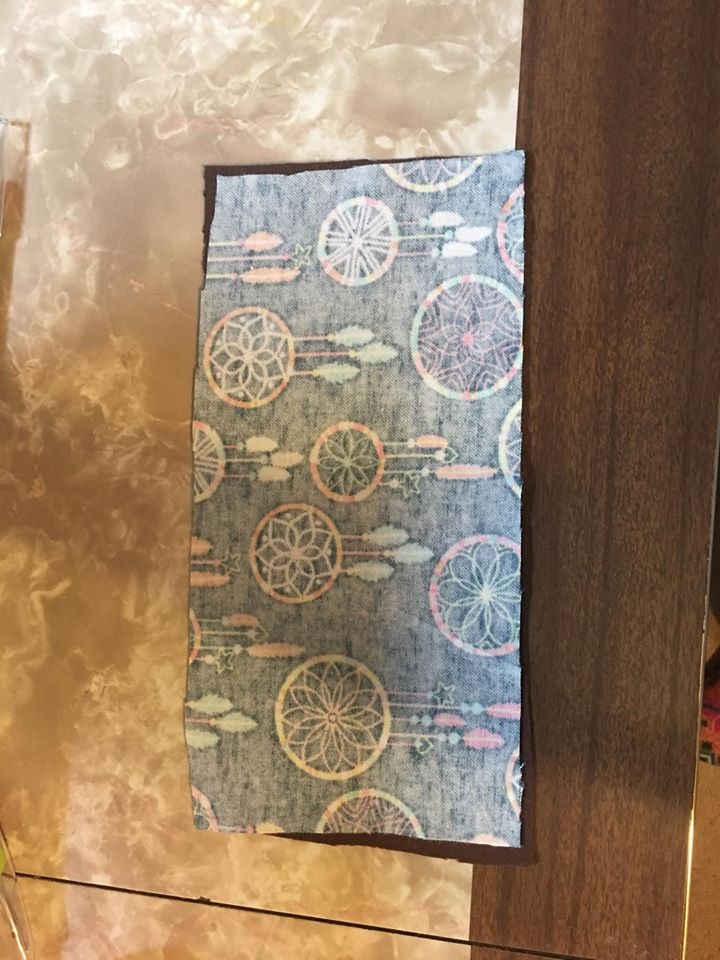
2. Pin your two pieces of fabric together.

3. Cut off excess after pinning them together to even up raw seams.

4. Start sewing using a straight stitch from one of the long sides at 1/2 inch seams. Make sure you back stitch a few stitches in at the beginning and the end to avoid your seams tearing out.

5. Make your way through, sewing each side of the fabric


6. Leave a 2 inch gap unsewn to pull your fabric through.
7. Then double stitch at 1/8 inch seams all the way around still leaving the gap open

8. Pull fabric through the hole turning it right side out, use a dull tipped pen or paint brush to push out the corners. You want to make sure the tool you're using is not too narrow or pointed so you don't push through your seams.

9. Once you have it all right side out, iron it flat, paying attention to the creases.

10. Put your funnel into the sack. This will make it easy to pour your rice into the sack.

11. Slowly pour your rice into the sack. Make sure you wiggle it around to get the rice in there.


12. When pouring in your rice, be aware of how much space you have left in the sack. You must have 2-2 1/2 inches of empty space to be at a nice weight and level.

13. Fold in the open seams into the sack to make it even with the rest of the seams.

14. Top stitch across the entire side with the opening. Can you different stitches for this step. It's totally up to you.


And you're done! Make sure you cut off all the little leftover strings to give it a finished look.
You will want to microwave your pack for 1-2 minutes on high.
*You can also use this as a cooling pack. Just pop it in the freezer for at least 2 hours.

ENJOY YOUR NEW HEATING PACK? Used a different design? Please share!


Comments